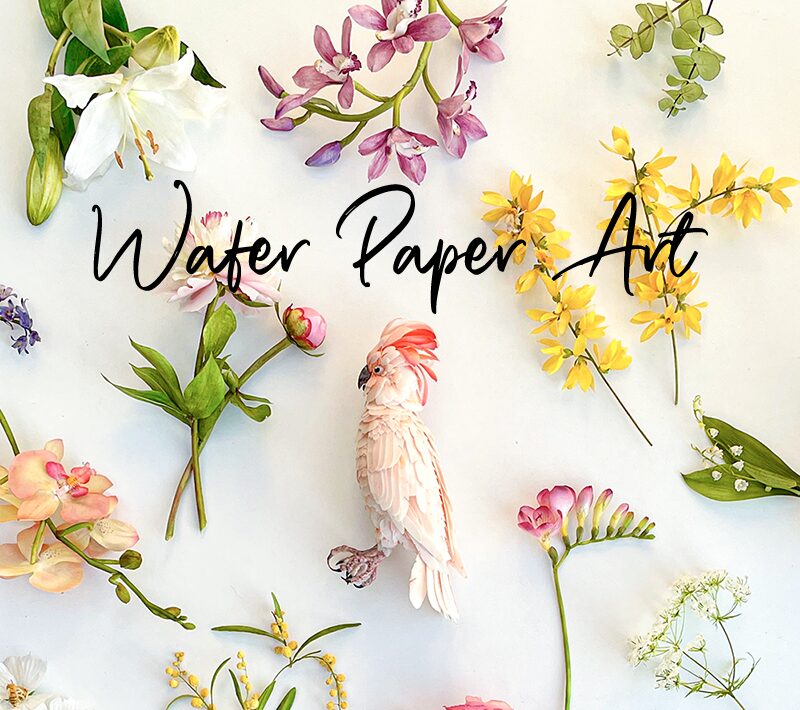
Everything You Need to Know About Wafer Paper: The Ultimate Guide to Mastering This Edible Art
Ever heard of wafer paper but wondered what it is or how to use it? Maybe you picture it as a magical sheet that effortlessly turns your desserts into masterpieces, or perhaps it feels like a mystery reserved for professional bakers. Think again! In this comprehensive guide, we’ll demystify wafer paper, debunk common myths, and share expert tips to make it your secret weapon in cake decorating. Whether you’re a beginner or a seasoned pro, this article is your go-to resource for all things wafer paper—perfect for answering questions you’ve Googled or whispered in your kitchen. Ready to dive into this light, creative world? Let’s get started!
What Is
Wafer Paper?
Wafer paper, also known as edible paper, is a thin, versatile sheet used to elevate desserts in cake decorating. Made from potato starch, water, and vegetable oil, it’s vegan, gluten-free, and incredibly lightweight—almost as airy as a feather. Visually, it resembles ultra-thin tissue paper, but it’s 100% edible and food-safe. Its flavor? Virtually nonexistent, which is intentional: wafer paper isn’t here to steal the spotlight from your dessert’s flavors but to enhance your cakes with elegant, eye-catching decorations. Think delicate flowers, floating feathers, abstract waves, and so much more!
Busting Myths:
No Fancy Ingredients
Needed
Forget the rumors: you don’t need vodka, glycerin, or extra starch to work with wafer paper. In fact, these additives can ruin your project. Vodka dries it out, making it brittle; glycerin leaves oily streaks that mess up your colors; and adding starch to prevent sticking dulls its shine. With the right techniques, this edible material is all you need for jaw-dropping results—no extra ingredients required except water.
Why Choose Wafer Paper for Cake Decorating?
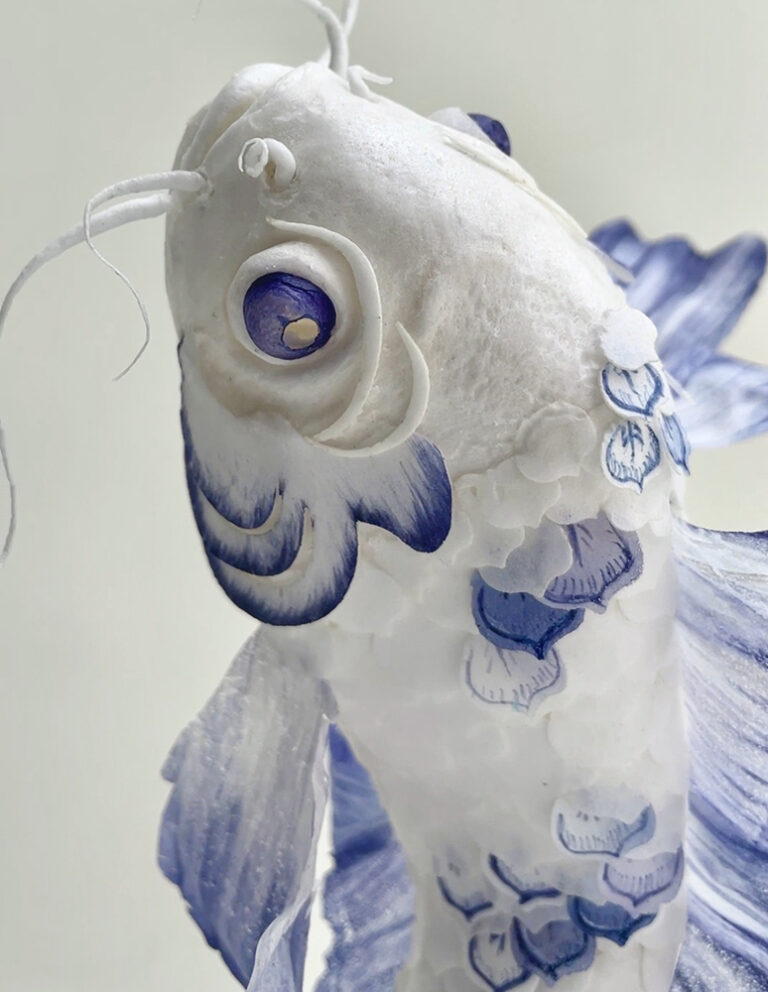
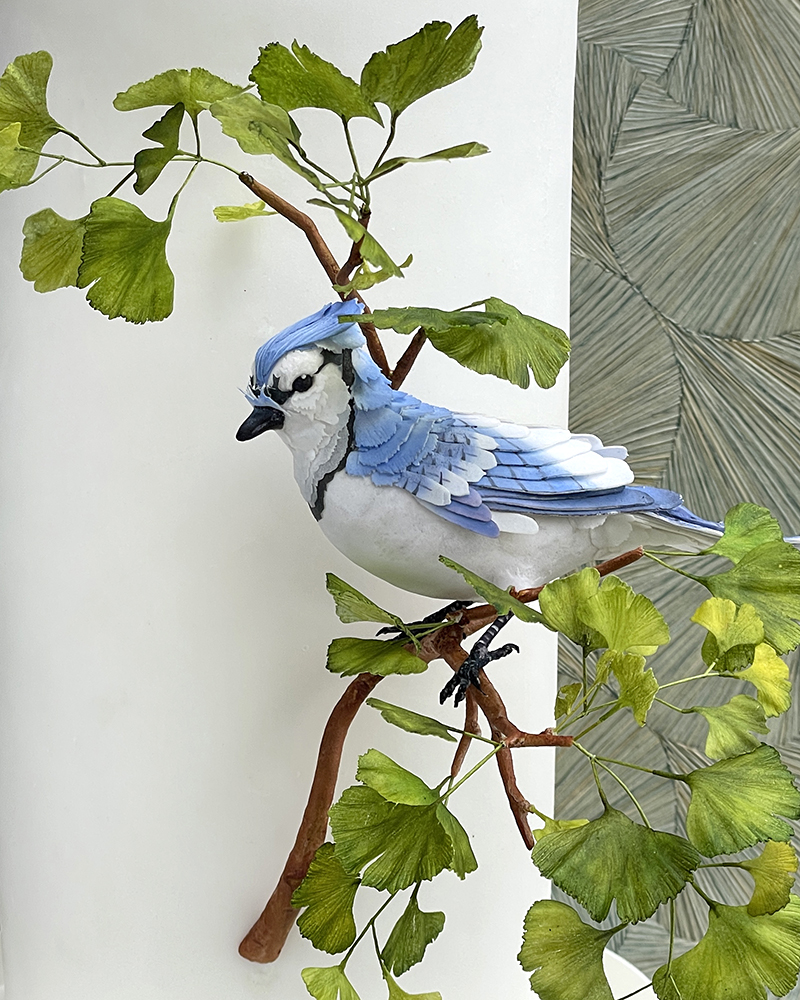
The magic of wafer paper lies in its weight—or rather, its lack of it. Unlike fondant, sugar paste, or modeling chocolate, which can be heavy enough to crush a cake, wafer paper stays airy yet surprisingly sturdy. No wires or inner supports are needed to bring flowers, animals, or even large sculpted figures like mermaids or dragons to life. It’s also allergen-friendly, quick to dry, and long-lasting when stored properly, making it perfect for preparing decorations ahead of time. And because it’s both affordable and efficient, even a small amount can stretch into big, elaborate creations. Wafer paper truly gives decorators the freedom to do more for less—without ever weighing down their cakes or their creativity.
How to Use Wafer Paper: Tips for Beginners
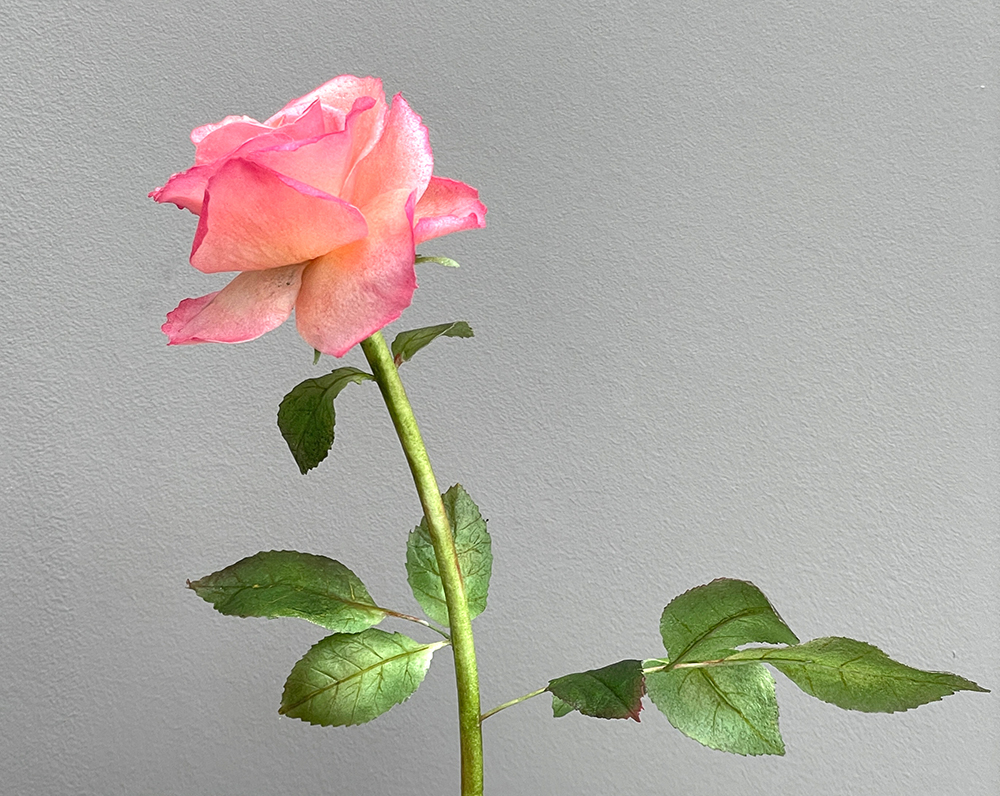
Working with wafer paper is easier than you think. Grab a sheet, a pair of scissors or even better a cricut/glowforge machine, and let your creativity run wild. Fold, crinkle, or shape it with a touch of water or steam to sculpt your designs. Want to make a rose? Lightly moisten the paper and form petals—a few tries, and you’ll have a professional-looking result. Sign up for our newsletter for a free rose-making tutorial! No expensive tools are needed: scissors, a brush, and some food coloring will do the trick.
Best Painting Techniques for Wafer Paper
Coloring wafer paper is an art, and dry powders sprinkled on won’t cut it—they create uneven, dull results and make fine details a nightmare. Here are the top techniques for vibrant, professional finishes:
- Airbrush: Delivers a fine, even coat that preserves the paper’s delicate texture.
- Makeup Sponge: More effective than a brush, it distributes moisture evenly for a smooth and even look.
- Brush with Gel Food Coloring: Wring out excess water to avoid smudges.
- Cocoa Butter with Edible Dust: Perfect for precise details and bold, radiant hues.
These methods ensure your edible decorations pop with color and draw every eye.
Choosing the Right Wafer Paper
Thickness
Wafer paper comes in different thicknesses, each suited for specific projects:
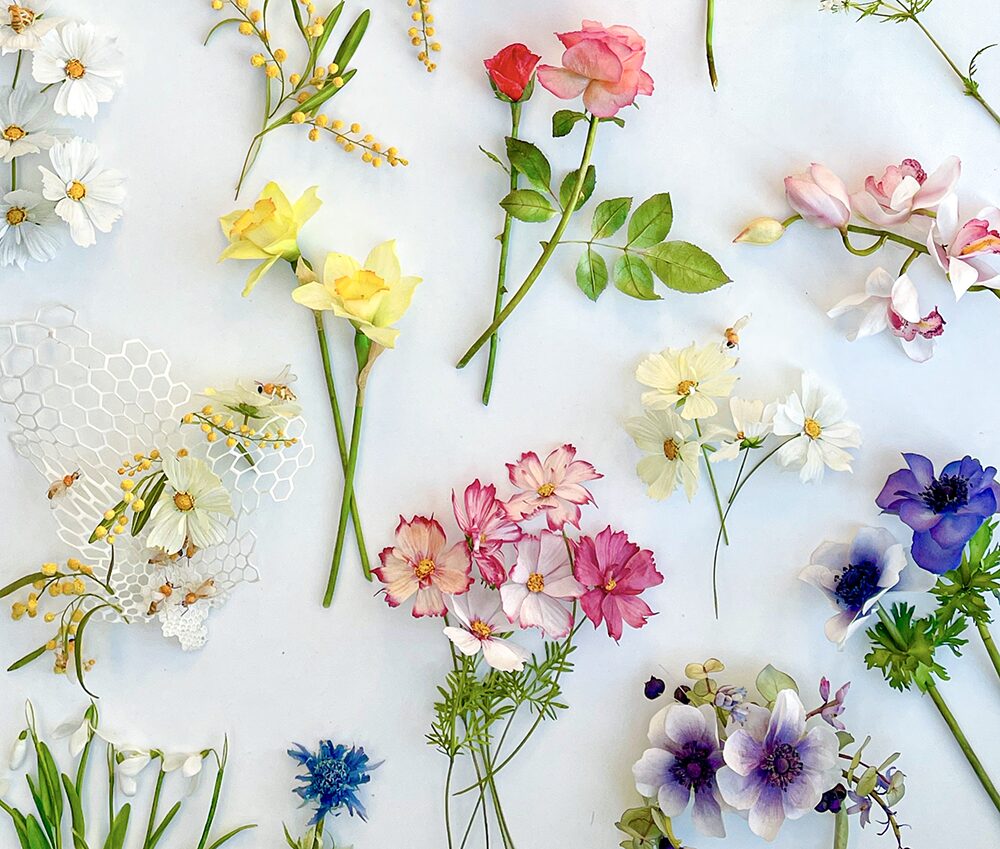
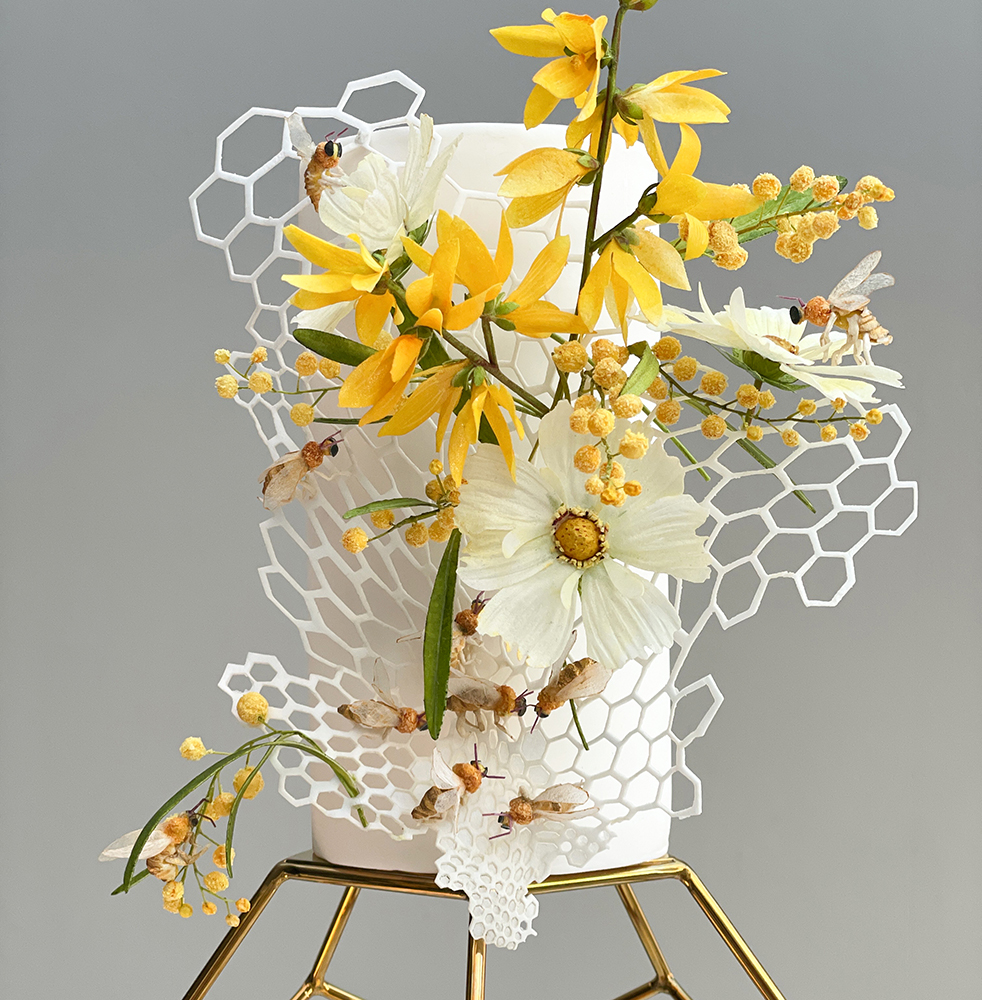
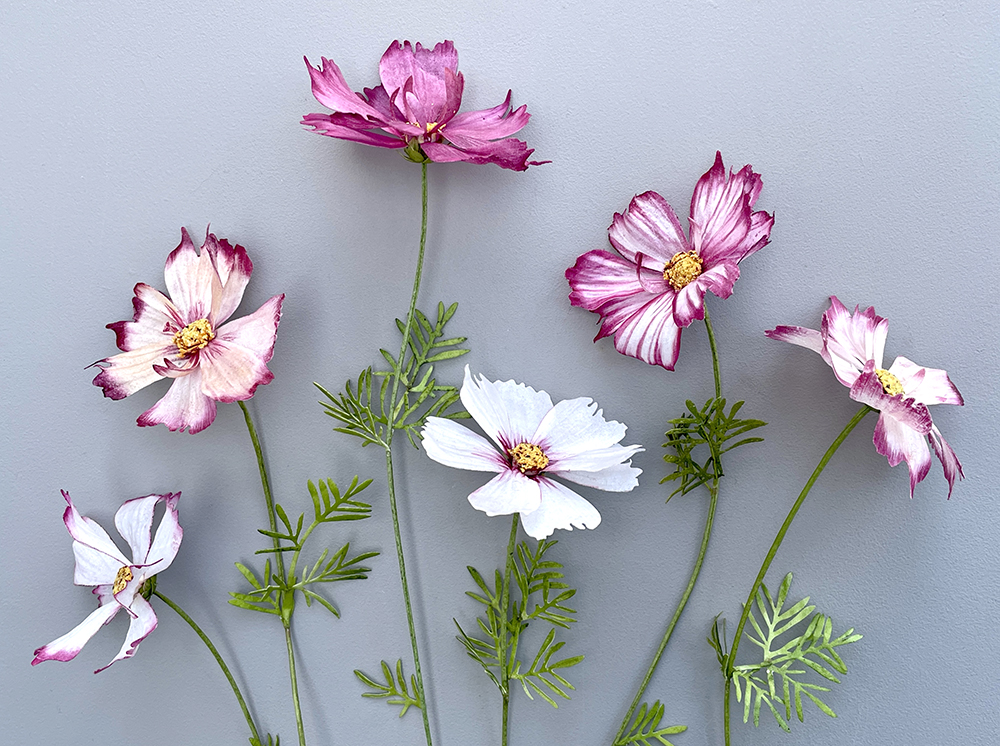
- 0.3 mm: The versatile standard, ideal for lightweight flowers like cosmos, roses, peonies, daffodils, ranunculus.
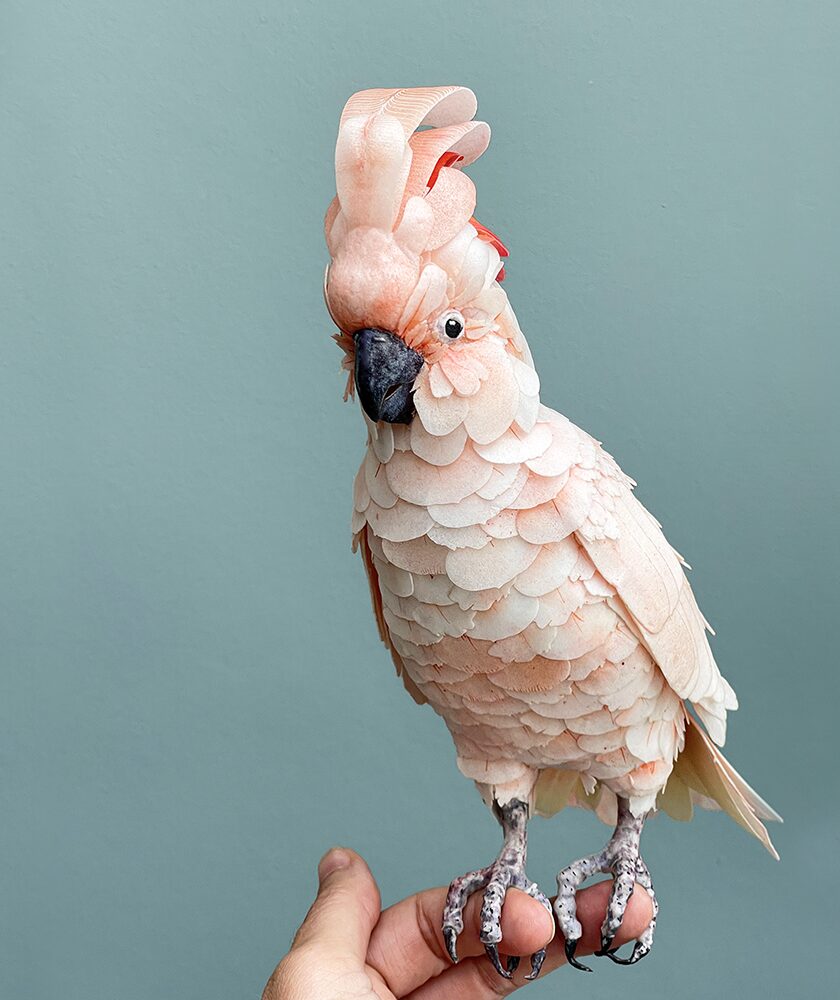
- 0.6 mm (double thickness): Sturdier, perfect for sculpting stems, flower centers, or 3D edible figures like cockatoos or dragons.
Match the thickness to your project: thin for delicate designs, thick for structural elements.
Watch Out for Humidity
Wafer paper and humidity don’t mix. In a steamy kitchen or on a moist cake, it softens and loses its shape when you use the thinner paper —say goodbye to airy feathers and hello to soggy seaweed! Pro tip: Store it in a Ziplock bag until the last moment and place it on your dessert just before serving. Or add a coat of cocoa butter to create a barrier. If it becomes dry and brittle, revive it by sealing it in a container with a damp cotton ball for 12 hours.
How to Store
Wafer Paper
To keep wafer paper in perfect condition, store it in an airtight bag away from moisture and heat. A cool, dry spot is ideal. Properly stored, it stays ready to use for weeks after purchase.
Creative Ideas to Wow
Your Guests
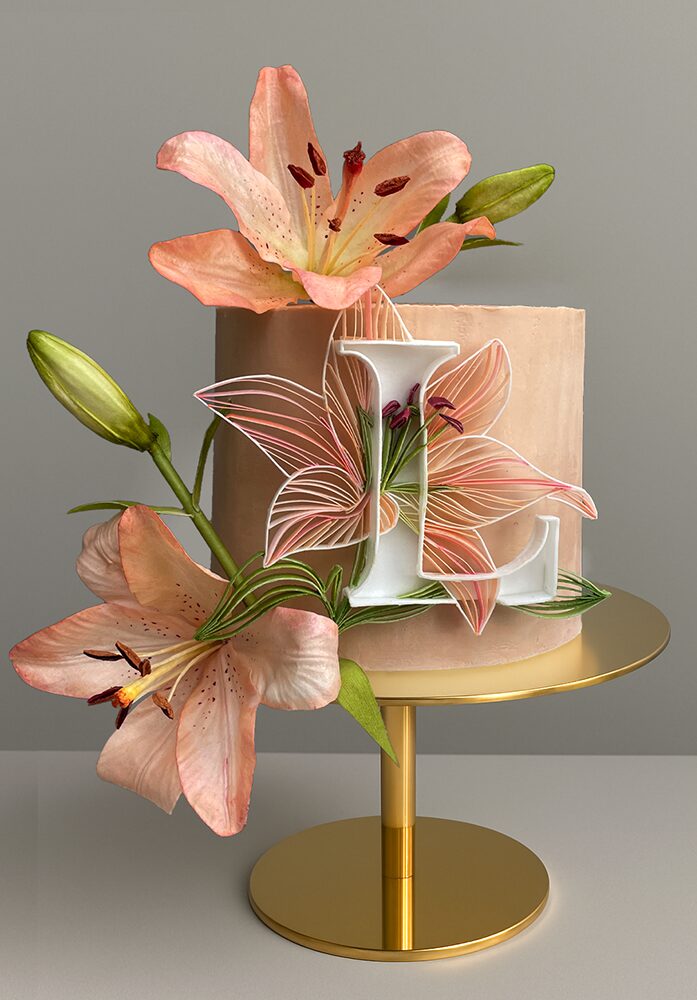
Picture a simple cake transformed by a vibrant wafer paper wave or petals cascading gracefully down the sides. Your guests will gasp, “You made this?!” With a sly smile, you’ll reply, “Yep, and it’s easier than it looks!” Wafer paper also shines on cupcakes, cookies, or even non-edible projects thanks to its flexibility. Crinkle it for a modern vibe, cut crisp shapes for a classic look, or sculpt a dragon or mermaid for a showstopping effect—the possibilities are endless.
Conclusion: Transform Your Desserts with Wafer Paper
Wafer paper is a game-changer in cake decorating: lightweight, flexible, and beginner-friendly, it outshines fondant or chocolate without requiring years of practice. Forget the myths and with some practice and a few techniques on how to master humidity levels, you’re ready to create stunning edible decorations, whether you’re just starting out or a seasoned pro. So, why wait? Grab a sheet, have fun, and turn your desserts into works of art. Your cakes will never be the same. Get your scissors ready—and if you create a masterpiece, show it off!
